

WINTER JOY:
CARD 5 X 7
Card Front:
Items Used:
Memory Box Winter Joy
#98640
Cuttlebug Embossing
Folder Winter Folic
Spellbinders 5 x 7
Matting Basic A
Crafting Foam
Martha Stewart Punch
Around the Page Aspen
Spellbinder Green
Foil
Ribbon
Rhinestones
I started by
embossing the folder with the green foil. I distressed the foil. I then cut out
the red paper with the Martha Stewart Punch around the page Aspen. 6 ¾ x 5. I
used the Spellbinder’s Matting Basic to cut out the inside of the punch around
the page. I then layered the foil under the punch around the page. I then took
some white behind the punch around the page and cut it to fit. Add some green
foil paper behind it for an extra layer. Added a double bow. Add rhinestones.
INSIDE CARD:
Item used:
Martha Stewart Punch
Around the Page Aspen
Spellbinders Large
Deckled Mega Rectangles
Started by cutting a 6 ¾ x 3 ¼ piece of paper.
Used the aspen punch to create the borders. I created the sentiment and used a
dark red ink. I cut the sentiment out of the spellbinder Mega Deckled
Rectangles. Used some of the snowflakes cut from the punch. I made another
layer with the red paper and added to the inside.


FROSTYVILLE FRAME
6.5 X 5 CARD
ITEMS USED:
Memory Box
Frostyville Frame #98718
Memory Box Debutante
Frame #98297
Memory Box Country
Landscape #98239
Crafts Too Pine Tree
Scene CTFD4008
Impression Obsession
Pine Trees CC101 C A C
Punch Bunch Pine
Trees Medium and Large
Cheery Lynn Sentiment
Frame #2 B190
Just-Rite Christmas
Mini Sentiments Set
Tim Holtz Distress
Ink peeled paint
Stickles Frosted Lace
Ribbon
I saw a Tim Holtz
video and He was stamping inside an embossing folder. So I tried doing it in the
Craft Too pine tree embossing folder with the Obsession Obsessions Pine tree
stamp. I stamp it with Tim Holtz peeled
paint ink. I then took my ink pad and
ran it across the embossed trees. I took my Tim Holtz markers and water pen to
run tumbled glasses across the top of the tree line to make sky and clouds.
Then I stickled the trees with the frosted lace stickle. I cut the Frostyville frame out of glitter
paper. I cut out the Debutante Frame out of the embossed tress lines. Placed together only at the top. I cut out
the Country Landscape and cut it out again right in line. . I
needed it to cover the whole card. I
left a about two inches for the border line.
I placed the border under the Frostyville Frame . I lefted it hanging
out at the bottom and sided. Then glue it in place to the Frostyville frame.
Layered under the fame and border. Add the Winter Wishes on the Cheery Lynn
Sentiment Frame. Also use the peeled paint on the edges of the Frame. Then add
the bow.
INSIDED
ITEMS USED:
Just-Rite Christmas
Ornaments
Spellbinders Standard
Circles
Martha Stewart Punch
Around the Page Snowfall
Tim Holtz Markers
Tim Holtz Peeled
Paint.
I stamped out the
Just-Rite and colored the ornament with Tim Holtz Markers and water pen. I cut
out the circle on each side of the sentiment. Placed the Ornament under the
circle. I used the border punch from the
Martha Stewart Snowfall. I cut right
next to the snowflakes about ¼ of an inch. If you snip next to each side of the
snowflakes you can then turn it to go around the circle. Then you can glue
down.

SWIRLING SNOWFLAKES:
CARD 5 X 7
FRONT OF CARD:
Items Used:
Memory Box Swirling Snowflakes
#98653
Memory Box Frosty
Border # 98171
Marianne Design
Poinsettia’s Miniature #lr0142
Spellbinders 5 x 7
Matting Basics B
Martha Stewart Punch
Around the Page Snowfall
Digi Stamp from http://digital-doodling.blogspot.com/2009/11/free-digital-stamp-tilly-bauble-no-1.html
Spectrum Noir Markers
I printed the image
and colored it in. I also cut the Angel out of the image. I then cut out the
Swirling Snowflakes. Cut out the punch around the page and then use the 5x 7 matting basics to cut out the center of
the punch around the page. Then placed the Swirling Snowflakes under the punch
around the page. Placed another color
under the whole frame. Then placed the angel were you want. I did raise the
angels head up. Then cut out 2 of the Frostyville Border. I cut them in two.
Cut out the poinsettias and of course sand the top of them. Place the cut
Frostyville border under the Poinsettia’s.
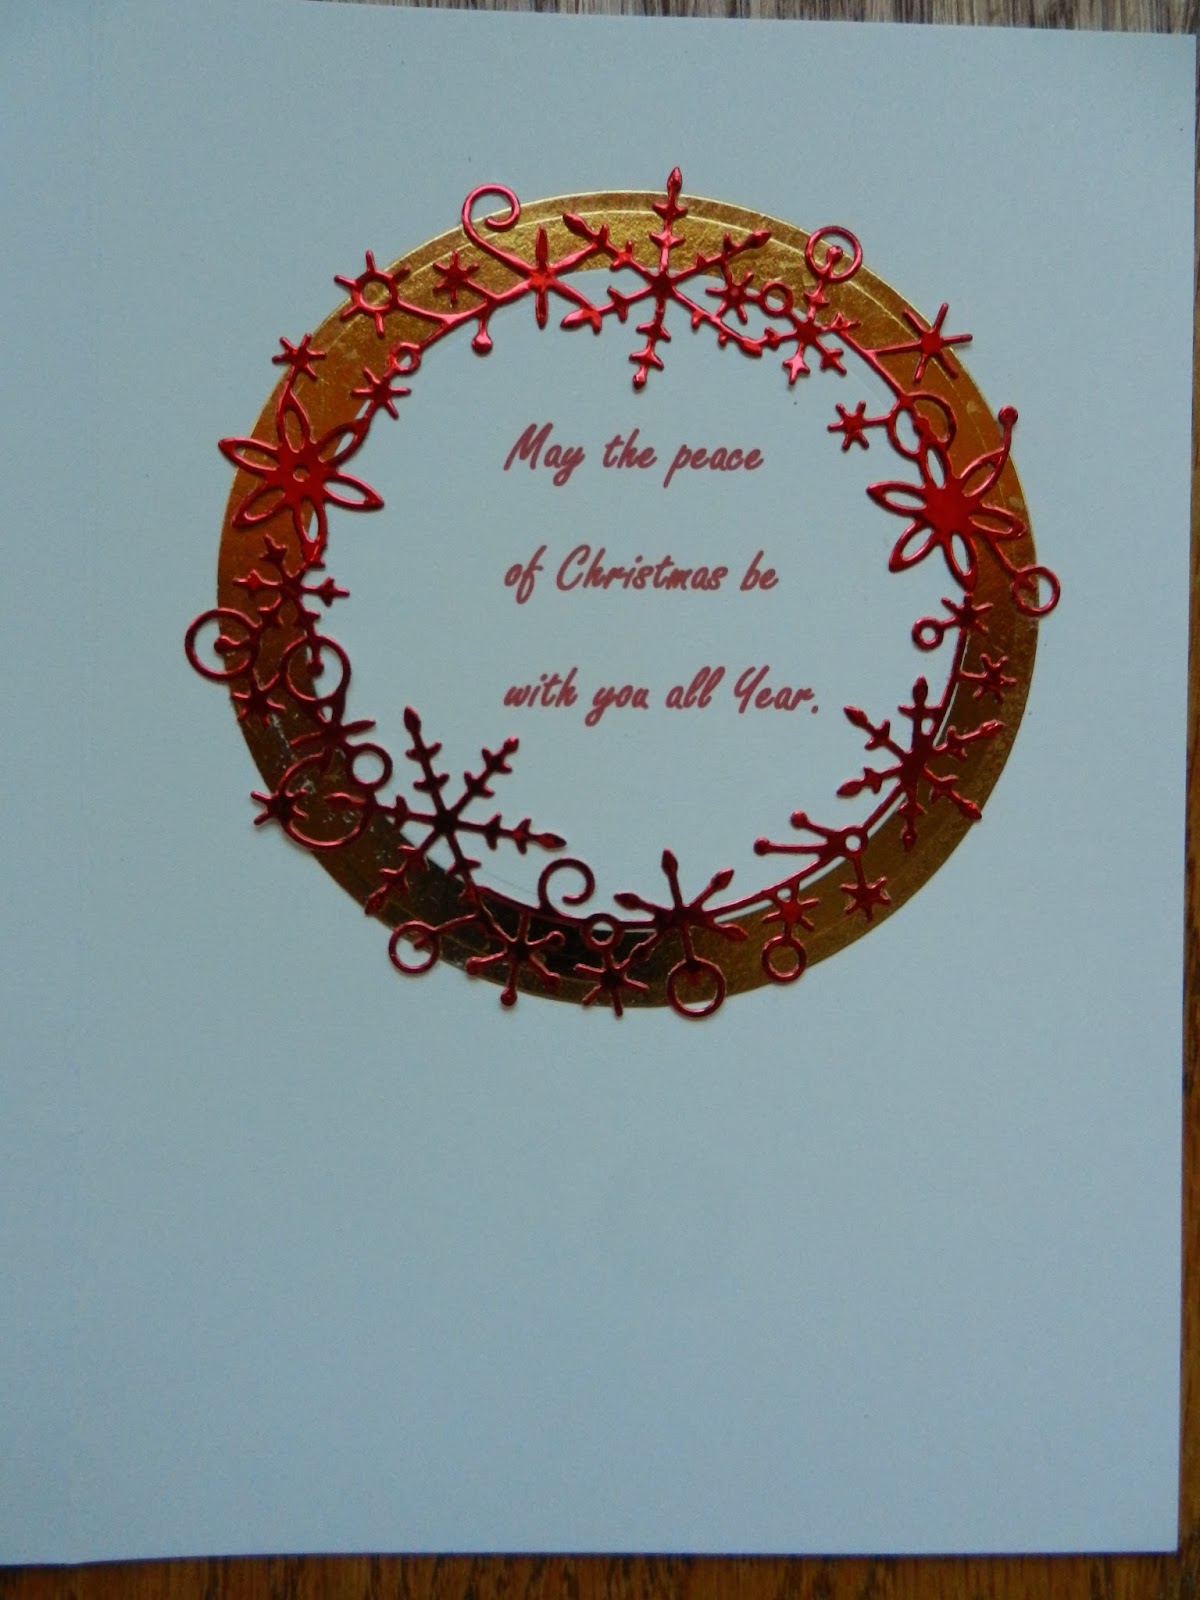
INSIDE CARD:
Items Used:
Items Used:
Memory Box
Frostyville Wreath # 98418
Spellbinder Standard
Circle #S4-114 and S4-116
I printed up the
sentiment on the computer and the cut out the circles. Add the Frostyville
Wreath.


FROSTYVILLE CORNER
Card 7 x 6
Inside card:
Memory Box
Frostyville Corner #98637
Memory Box
Frostyville Border # 98171
Nellie Snellen
Embossing Folder Snowy Village Pif001
Spellbinders 5 X 7
Matting Basic A & B
Cheery Lynn
Snowflakes C146
Die-namics Layered
Rose 6414
Mulberry Rose
Rhinestones
Oil Based Pencils
Tim Holtz black soot
ink
Tim Holtz Distress
Stickles Candy Rock
Ranger Stickle
Frosted Lace
I started by
embossing Snowy Village. I ran my ink pad across the side that has the narrow
edges on it. I looked at a it and
thought it need to be colored in. Took out my pencil and colored them in. I did
use baby oil to blend the pencil lines. I used the candy rock stickle to make
the snow look shiny and glittery. I then took the frosted lace stickle made the
trees look like they had some snow on them.
The spellbinder basics were used to make a frame. The Frostyville Corner was added to the right
side of the frame. I placed the frame over the embossed paper and trimmed it to
fit. I also made my normal layers around the card. Placed the frame and
embossing folder toward the top of the card. Add the Frostyville border to the
bottom of the card. I made some snowflakes and attached to the frame. In the
upper left hand corner I made a flower with the layered rose, a snowflake and a
mulberry rose. I cut out the Frostyville corner and cut parts out to ad under
the flower. Added rhinestones anywhere I thought they should go.
INSIDE:
Item used:
Item used:
Spellbinders Romantic
Rectangles S5-090
JustRite Stamps
Christmas Nested Frames
Embossing Podwer
Ink
I stamp the frame and
sentiments and used embossing powder. I trimmed each one to fit. Layered the
Romantic Frames behind them.


2 Frostyville Corner
Easel Card 6.5 x 5
Front of Card:
Items used:
Memory Box
Frostyville Corner # 98637
Rhinestones
I shaped the front of
the card so the Frostyville corner would fit. Cut a layer on the top and add
Rhinestones.
Inside of Card:
Left Side:
Items Used:
Memory Box
Frostyville corner #98637
Spellbinders 2010
Snowflake Pendant S4-286
Cheery Lynn Merry
Christamas #B186
3D Decoupage http://www.freecraftdownloads.co.uk/paper2/decoupage/christmas_new/1christmas_decoupage02
Ribbon
Rhinestones
I looked online how
to make an easel card. I used the card and scored in in half. It makes the correct size for a rectangle. Cut
the green paper to fit just inside the card. I used a 3-d decoupage from http://www.freecraftdownloads.co.uk/paper2/decoupage/christmas_new/1christmas_decoupage02
You do have to cut it
out. Not too bad. I put the spellbinders Snowflake Pendant behind the 3d
decoupage. Add the Frostyville Corner
under the decoupage. Then added rhinestones to the Frostyville corner.
Inside:
Cut the paper to fit
add the Frostyville corner to the paper and trim it to fit. Add rhinestones.
.